

There is a moment in every home sewer’s life when the pattern envelope stops being intimidating and starts being useful, and it almost always involves a skirt. Not a tailored jacket, not a bias-cut slip dress, not anything with a sleeve to set in — a skirt. Two seams, a waistband, a hem, and a zip if you are feeling ambitious. That is the entire engineering brief. And yet the same garment that takes an afternoon at a sewing machine is the one that shoppers struggle with most in a fitting room, because the difference between a skirt that works and a skirt that hangs in the wardrobe comes down to a handful of numbers that no size label will tell you. Waist height, hip depth, the exact point where the hem lands on your leg, and how much the fabric moves when you walk. Those four things are why so many women own eight skirts and wear two of them. It is also why the same woman who can describe her shoe size without hesitating will guess at her hip measurement and be wrong by five centimetres, then wonder why nothing hangs the way it does in the photograph.
This is where womens skirt sewing patterns earn their keep, and not only for people who own a machine. A pattern is a set of measurements and construction decisions written down in a form you can read in ten minutes — a translation of an garment into numbers. Even if you never cut fabric, understanding what a pattern contains tells you exactly what to check before you spend money on a finished skirt. The pattern industry has been doing this work since the nineteenth century, when paper patterns began being sold commercially and home dressmaking shifted from a skill passed between neighbours to something you could learn from a printed sheet, a history the V&A’s fashion collection documents in detail. The same logic applies to the ready-to-wear rail, where the useful information is rarely printed anywhere you can see it, and the only way to recover it is to know what the hidden numbers mean. What follows is a practical guide to that sheet: what is on it, where it lies to you, which fabrics change the outcome more than the pattern does, and which five shapes are worth sewing before you attempt anything else. It is written for both kinds of reader — the one holding a tracing wheel and the one holding a credit card, because they are solving the same problem from opposite ends.
Why a skirt is the friendliest garment in any pattern catalogue
Every other garment asks you to solve a fit problem that has no single answer. A bodice has to accommodate a bust, a shoulder slope, an armhole and a back curve, and those four things vary independently of each other, which is why dress fitting is a profession. Trousers ask you to fit a crotch curve, and the crotch curve is the least forgiving seam in clothing because it is the one place where the fabric has to travel in three directions at once. A skirt asks you to fit a waist and a hip, and the relationship between a waist and a hip is comparatively stable: the difference between the two circumferences, and the vertical distance between them. Get those two numbers right and the garment will hang. That is the whole reason skirts dominate beginner sewing classes and why so many experienced sewers keep a stack of skirt patterns within arm’s reach for the evenings when they want to finish something before bed rather than start a three-week project. The economics work in the same direction. A skirt typically needs between one and two and a half metres of fabric depending on width and length, which puts even a good wool suiting or a heavy silk within reach of a weekend budget, whereas the same cloth in a dress length costs three times as much and carries far more risk if the fit goes wrong. Notions are minimal: a zip or a length of elastic, a button, a hook and eye, interfacing for the waistband, thread. There is no lining to draft unless you want one, no sleeves to ease, no collar to turn. And the construction order is short enough to hold in your head after the second attempt, which means the third one takes half the time. The result is a garment that teaches you the parts of sewing that actually transfer — seam finishing, pressing, zip insertion, hemming, waistband construction — without demanding that you master all of them at once.
What womens skirt sewing patterns actually contain, line by line
The envelope is a technical document disguised as packaging, and reading it properly takes about four minutes. On the back you will find a size range with body measurements rather than ready-to-wear numbers, a finished-garment measurement chart, a yardage table broken down by fabric width and size, a notions list, and a suggested fabric list with at least one warning about which fabrics will not work. That last item is the one most people skip and the one that decides whether the project succeeds. Inside, the pattern sheets carry the pieces themselves: front, back, waistband, facing, pocket bags if there are pockets, and often a lining or a slip pattern. Each piece is printed with a grainline arrow that must run parallel to the selvedge, notches that align one piece to another, dart legs, a cutting line for every size in the range nested inside each other, and frequently a lengthen-or-shorten line across the middle of the piece so you can change the hem without redrawing the whole shape. A well-drafted pattern also marks the straight grain, the fold line for pieces cut on the fold, and the position of buttonholes or pocket openings. The instruction sheet is where the construction logic lives, and the order is not arbitrary: staystitching before handling a curved edge, interfacing before attaching a waistband, understitching a facing so it does not roll to the outside, pressing at every step rather than at the end. Commercial patterns from the big houses have historically included a five-eighths inch seam allowance, while many independent PDF patterns use three-eighths and some include none at all, expecting you to add it — this single detail is the most common cause of a skirt that comes out a size too small, and it is printed on the sheet in type small enough to miss. The reference entry on sewing patterns lays out the same anatomy in more formal terms, and it is worth ten minutes before you cut anything expensive.
The sizing trap: why the number on the pattern is not the number on the label
Here is the fact that unsettles every first-time sewer: a woman who wears a size 12 in a shop may well be a size 18 on a pattern envelope, and neither number says anything about her body. Ready-to-wear sizing has drifted steadily upward for decades — a phenomenon usually described as vanity sizing — so that a modern label 10 corresponds roughly to what a 1950s label called a 14. Pattern sizing, by contrast, is pinned to body measurements and has changed far less, which is why the two systems disagree so loudly. The practical instruction is simple and almost universally ignored: ignore the label, take a tape measure, and choose by the hip measurement, because a skirt hangs from the hip and the waist can be adjusted far more easily than the hip can. Measure the fullest part of the hip, then the natural waist at its narrowest point, then compare both to the pattern’s body measurement chart. If your waist falls in one size and your hip in another — which is the normal case, not the exception — buy for the hip and take in the waist at the side seams, which is a fifteen-minute alteration. The reverse, letting out a hip that is too tight, is impossible without extra fabric you do not have. Then look at the finished-garment measurements and subtract your body measurement from them: that difference is the wearing ease, and it tells you whether the skirt will sit against the body or stand away from it. A pencil skirt might carry two centimetres of ease at the hip; a pleated A-line might carry fifteen, and that is design rather than error. A toile, or muslin, made in cheap cotton sheeting before you cut the good fabric, resolves all of this in an hour and costs almost nothing, and yet it is the step most often skipped by people who then wonder why their first silk skirt does not fit. Sewing teachers repeat the same sentence for a reason: the muslin is the pattern, and the garment is just the reproduction.
Fabric choice changes the result more than the pattern does
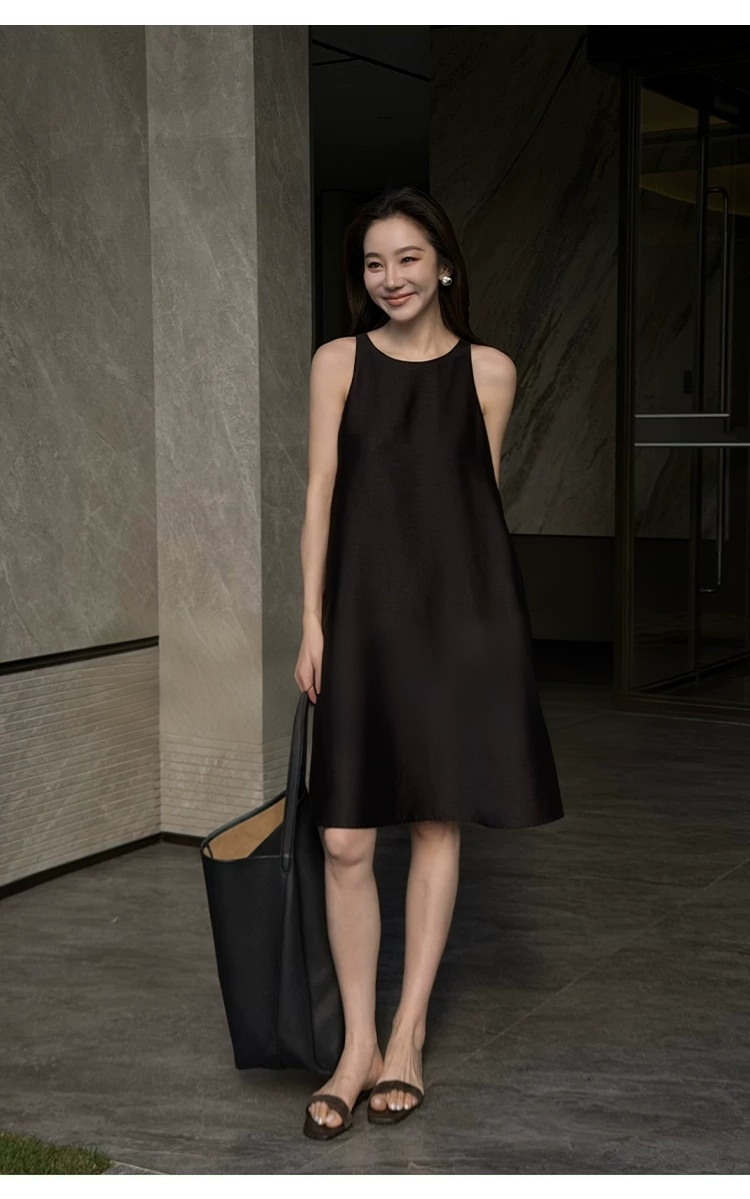
Two people can sew the same pattern, in the same size, with the same machine settings, and end up with garments that look like they came from different decades. The variable is drape, and it is the least discussed and most consequential decision in the whole project. Two womens skirt sewing patterns can be identical in every measurement and still produce completely different garments, because the cloth decides how the flare falls, how the hip reads, and whether the hem moves or stands still. A circle skirt needs a fabric with fluid drape and some weight, so that the flare falls into soft folds instead of standing out like a lampshade: crepe, viscose challis, a fine wool, a stable jersey. A pencil skirt needs the opposite — structure, recovery, and enough body to hold a clean line over the hip without clinging: ponte, a mid-weight twill, a wool suiting, a cotton sateen with a touch of elastane. A pleated skirt needs a cloth that will take and keep a crease, which means either a heat-set synthetic pleating service or a crisp wool, and it will fail in a soft rayon that collapses after one wash. Weight matters as much as fibre, and it is measured in grams per square metre. Under roughly 100 GSM a skirt will be light and airy but will also show every seam and every change in the body beneath it; between 150 and 250 you get the range where most skirts actually live; above 300 you are into coatings and heavy tweeds that need a walking vent and a proper lining to be wearable. The general reference on skirts is useful here for the historical range of shapes, but the technical numbers come from the fabric itself, and the only reliable test is to hold a metre of it against yourself and watch how it falls. Two more things change the yardage maths beyond the table on the envelope: directional prints and fabrics with a nap cannot be cut upside down, so every piece must be laid the same way and you will need more length; and any fabric that shrinks must be washed and dried before cutting, or your carefully measured hem will rise two centimetres after the first wash. Lining deserves a mention too. A lined skirt hangs better, lasts longer, and stops tights and knitwear from catching, and a simple acetate or cotton voile lining adds perhaps forty centimetres of fabric and twenty minutes of work.
Five shapes worth sewing first, and the one construction detail that decides each
The A-line is the best first project in the world and the reason is geometric: it flares from the waist, so it clears the hip without needing to be fitted to it, which removes the hardest part of the fit. The construction detail that matters is the waistband — interface it properly, sew it with the seam allowances graded and pressed downward, and understitch the facing, or the whole skirt will look homemade at the one point where everyone’s eye lands. The gathered skirt on an elastic waist is even simpler and takes ninety minutes; the detail that decides it is the distribution of the gathers, which should be even across the whole waist rather than bunched at the front, and a wide elastic casing rather than a narrow one, because a narrow elastic folds over inside its channel. The circle skirt is the most flattering shape in the catalogue and the most misunderstood: the waist opening is a circumference, so its radius is your waist measurement divided by six-point-three, and a half-circle uses double that radius. Cut it in a stiff fabric and it becomes a bell; cut it in a fluid one and it becomes the skirt that moves when you walk. The pleated skirt lives or dies on the pressing, and on stitching the pleats down inside the waistband for the first three centimetres so they stay where you put them. The wrap skirt is the one to make when you want something that fits through minor weight changes, because the overlap and the ties allow a range of maybe six centimetres; the detail that matters is a secure inner fastening, a button or a hidden tie, so the whole thing does not depend on a bow staying tied. All five can be made from a single metre and a half of 150-centimetre fabric, and between them they cover almost every occasion a skirt is asked to serve. It is worth noting that the best-selling womens skirt sewing patterns of the last decade are almost all variations on these five, which tells you something about how little the underlying engineering has changed while the styling has cycled repeatedly.
The four adjustments that decide whether you actually wear it
Fit adjustments on a skirt are fewer than on any other garment, but the four that exist are decisive. The first is the waist-to-hip blend, where you cut a size smaller at the waist and a size larger at the hip and draw a smooth line between the two on the side seam — a change that takes five minutes on paper and turns a garment from approximate to exact. The second is the swayback adjustment, needed by anyone whose lower back curves inward more than the pattern assumes, and its symptom is a waistband that gapes at the back while sitting correctly at the front; the fix is to take a horizontal wedge out of the back pattern piece at the waist, which shortens the back rise without touching the front. The third is length, and it is the one people underestimate most. A hem that lands at the widest part of the calf makes the leg look shorter; a hem that lands just below the knee or at the narrowest point above the ankle makes it look longer, and the difference between those two hems is often three centimetres. Pattern sheets almost always include a lengthen-and-shorten line so you can move the hem without altering the shape above it, and on an A-line or a circle skirt you must also adjust the flare, or the skirt will change width when you change length. The fourth is waistband height and contour, which is where comfort lives: a straight waistband on a body with a marked waist-to-hip curve will always gap somewhere, while a slightly curved waistband follows the body and stays put. All four are worth testing on a cheap toile, and all four are worth learning once, because they then apply to every skirt you make for the rest of your life, and because the adjustment notes printed inside womens skirt sewing patterns assume a standard body that almost nobody actually has.
Where home sewing genuinely beats ready-to-wear
The honest answer to why anyone still sews is not romance, it is arithmetic, and the arithmetic starts with fit. Look at how a shop-bought skirt behaves after an hour of sitting: the waistband has rotated, the zip has crept, the hem has climbed at the front because the garment was drafted for a body with a different hip depth. A skirt cut from a pattern that has been adjusted once does none of that, and the difference is felt every single time it is worn rather than noticed once in a mirror. None of this makes the process fast, and it does not make every attempt a success — the first invisible zip will be visible, the first blind hem will be crooked, and the first waistband will be interfaced with something too stiff because the packet said medium when it meant heavy. Those failures cost an evening and teach more than any tutorial, which is worth remembering before the third attempt. A home-sewn skirt fits a body that no size chart anticipated, which means it does not need constant adjustment during the day and does not get worn twice a year. It can be any length, in any fabric, with pockets where you want them and a lining that suits your climate. It can be repaired rather than replaced, because you know how it was put together and you have the offcuts. And its cost per wear is often lower than a cheaper ready-to-wear equivalent, because a well-made wool skirt in a colour you chose will outlast three fast-fashion versions of the same idea and will still be in rotation when they have gone to textile recycling. There is a design argument too: the pattern catalogue covers shapes that the high street abandons whenever a trend moves, so a sewer can make the same softly flared midi for fifteen years while shops cycle through barrel legs and micro minis. The environmental arithmetic is not trivial either, since the largest share of a garment’s footprint sits in the fibre and the making rather than the transport, so a skirt worn two hundred times instead of twenty is a genuinely different object. The one thing home sewing does not give you is speed. A simple skirt takes an afternoon; a lined, pleated, invisible-zipped one takes a weekend and a certain amount of swearing. That trade — hours in exchange for a garment that fits exactly — is the whole bargain, and it is worth making deliberately rather than accidentally.
Where ready-to-wear still wins, and how to use both
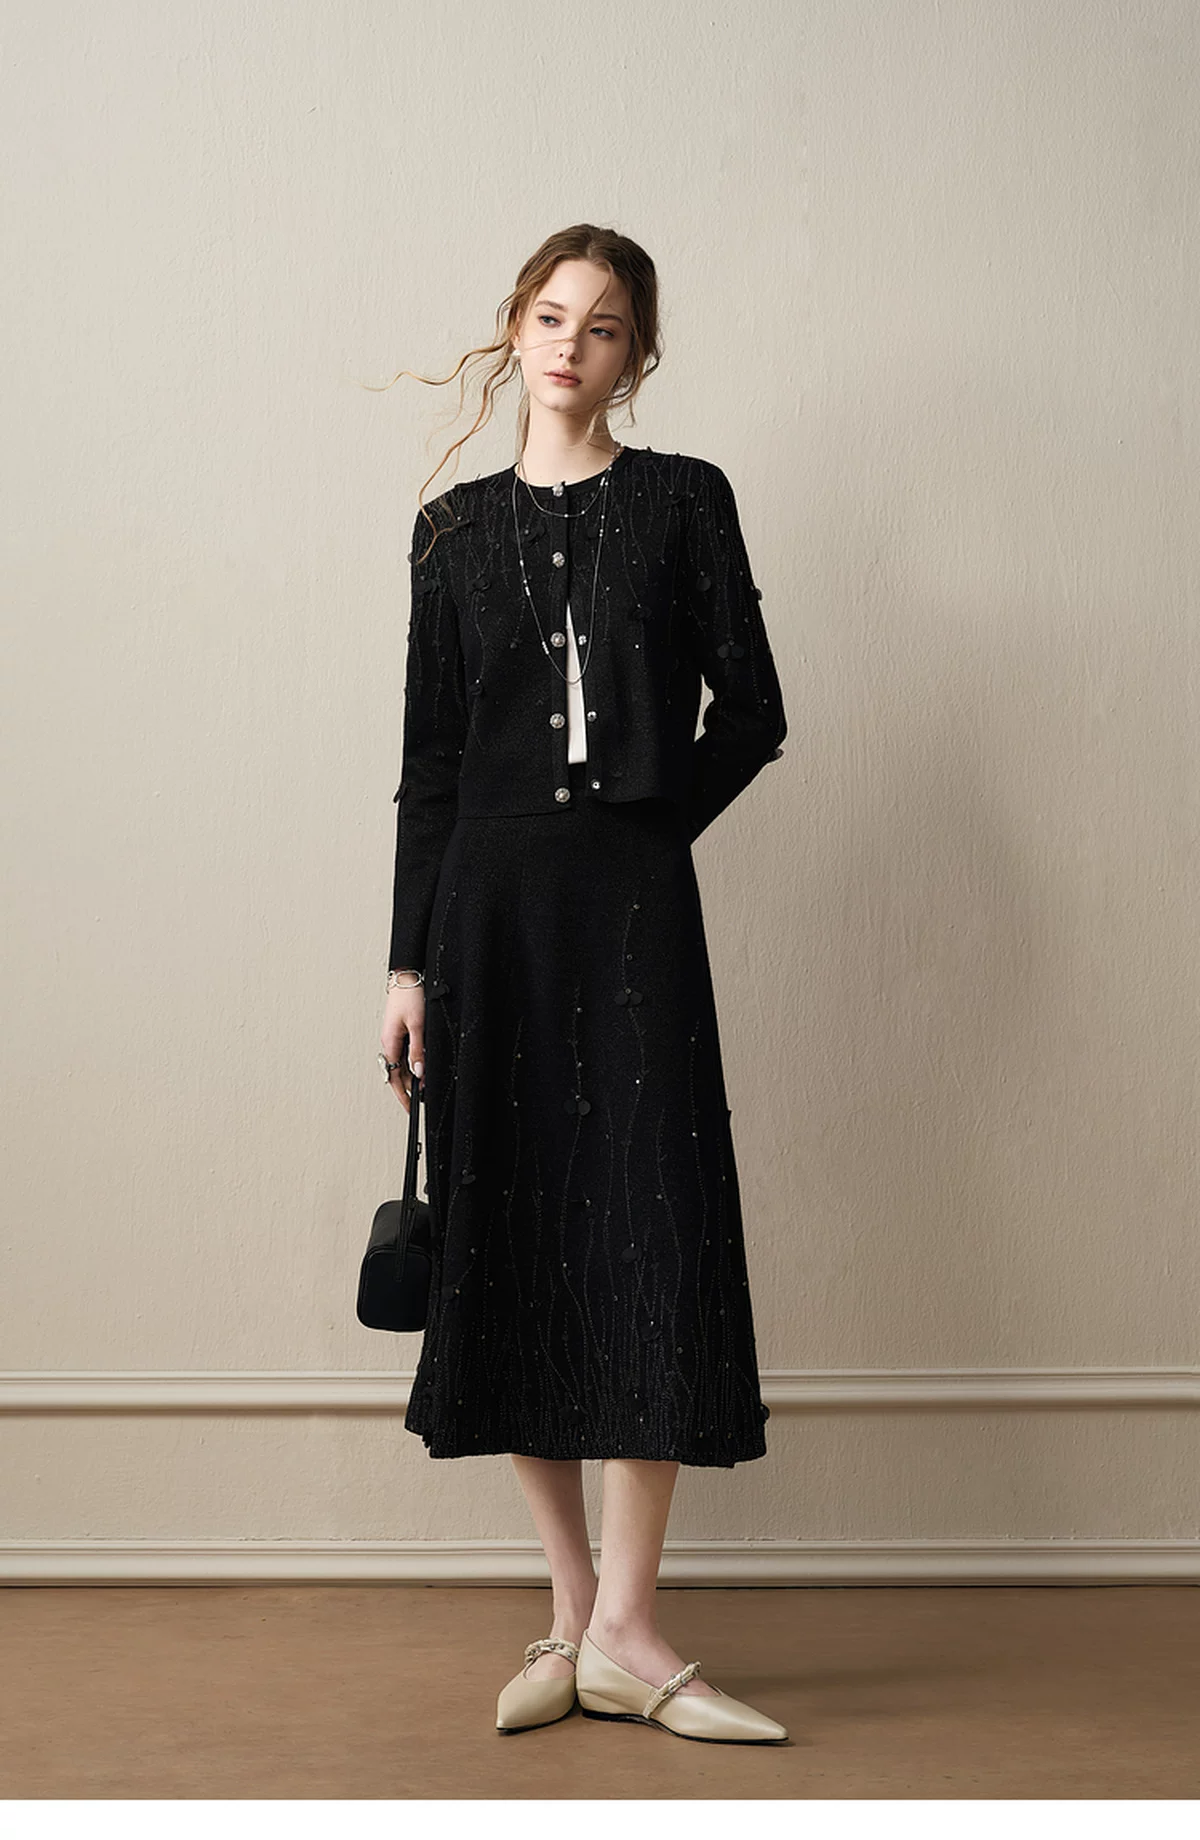
Ready-to-wear does several things better, and pretending otherwise is how sewing advice loses credibility. It has industrial pressing equipment, which is the single biggest visible difference between a home-made garment and a shop-bought one: the seams are flat, the hems are crisp, and nothing has the faintly puffy look that comes from ironing on a domestic board. It has specialised machines for invisible zips, blind hems, and buttonholes that run at a speed no home machine can match. It has pattern graders and fit models and years of iteration on a block, which is why a cheap mass-market skirt often hangs surprisingly well even when the fabric is poor. And it has time on its side: you can try forty skirts in an afternoon, and none of them cost you a weekend. That division of labour is worth stating plainly, because most sewing advice pretends the trade is all one direction. If you want the shaping without the sewing, a ready-made piece such as this knitted cardigan and half skirt set delivers the waist position and hem proportion in one purchase, and there is nothing wrong with that route. The sensible arrangement is to use each for what it is good at. Buy the technically difficult pieces, the tailored jackets, the lined wool trousers, the pleated skirts that need industrial heat-setting, and make or alter the simple ones. Buy a plain skirt in a fabric and colour you love and then change the length, add pockets, take in the waist, or replace the buttons, which are all one-evening jobs and all of them turn a generic purchase into something that fits. And use patterns as a diagnostic tool even when you are shopping: knowing that a pencil skirt needs two centimetres of hip ease and a structured cloth tells you in ten seconds in a changing room whether the garment in your hand is worth trying on. That is the real value of the pattern envelope. It teaches you what to look for, and it keeps teaching you long after you have put the machine away.
The wardrobe maths: how many skirts you need, and which ones
A useful exercise, whether you sew or shop, is to count the skirts you actually wore last month and compare that to the number hanging up. Most people find a ratio of about one to five, and the reasons are rarely about taste. The unworn ones usually fail on one of four things: the waist sits too high or too low for the tops they own, the length only works with one pair of shoes, the fabric creases within an hour of sitting down, or the colour does not combine with anything else in the wardrobe. Those are all fixable in a pattern before a single seam is sewn, and they are all checkable in a shop before a single note changes hands. A workable minimum is four skirts: one dark structured pencil or straight skirt for the days that require a decision-free outfit, one softly flared midi in a fluid fabric for anything social, one casual cotton or denim piece for weekends, and one longer, heavier skirt for cold weather that can take tights and boots. If you sew, make the fourth one first, because heavy fabrics are the most expensive to buy ready-made and the most rewarding to make, and the shaping is simple. If you shop, look for the same four and be ruthless about the waist position, because that single measurement determines whether the skirt works with the knitwear and jackets you already own. Either way, the question to ask is not whether the skirt is nice, but whether it works with at least four tops and two pairs of shoes you already have. If the answer is no, it is not a wardrobe piece, it is a costume, and it will be worn once. A knitted set, like this blue hollow knitted skirt set, solves the top-and-bottom problem in a single decision, which is why those pieces tend to get worn more often than the sum of their parts suggests.
If you take one thing from all of this, take the tape measure. Not the pattern, not the machine, not the fabric — the tape measure, applied to your own waist, hip, and the distance between them, written down somewhere you will find it again. Every decision that follows becomes simple once those three numbers exist: which size to cut, whether a skirt in a shop will fit, how much fabric to buy, where the hem should land. The rest of it — the seam finishes, the zip, the pressing, the interfacing — is craft, and craft is learnable in an afternoon with a decent instruction sheet and a willingness to unpick. What is not learnable is the guesswork that comes from not knowing your own measurements, and that guesswork is what fills wardrobes with garments that were almost right. Whether the skirt you end up wearing comes from a pattern you cut yourself or from a rail in a shop is genuinely unimportant. What matters is that it fits at the waist, clears the hip, lands at a length that makes your legs look the way you want them to, and is made of a fabric that behaves in real weather. Those four things are the entire difference between a skirt you love and a skirt you own, and none of them require a sewing machine. They require knowing what to look for, which is the only skill in this article that costs nothing at all.